

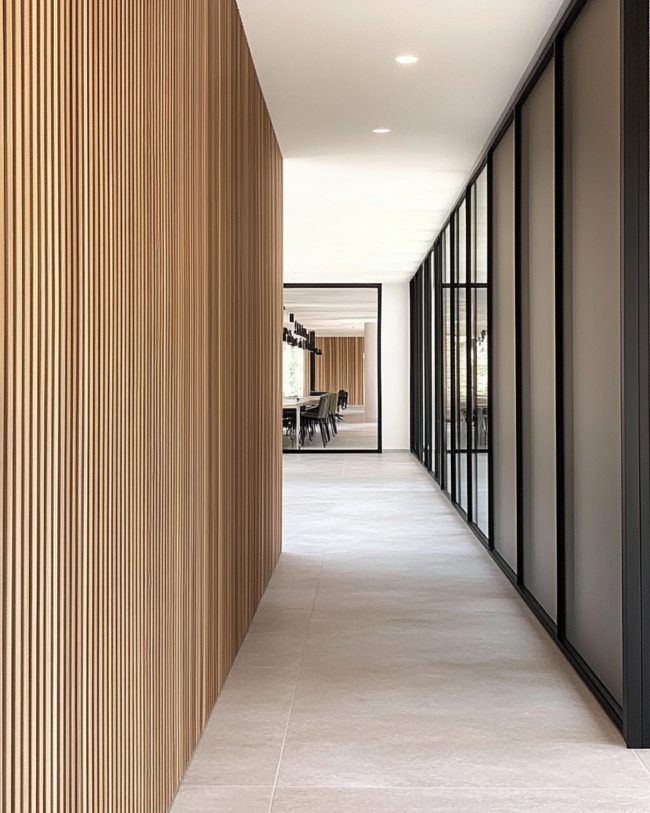

Flexible Stone Installation & Cutting Guide
DEVOX product guide · Published 8 October 2026
StoneWall installation starts with a sound base and an agreed layout. This guide follows the installation sequence in the DEVOX StoneWall brochure and highlights the details to confirm for your selected finish.
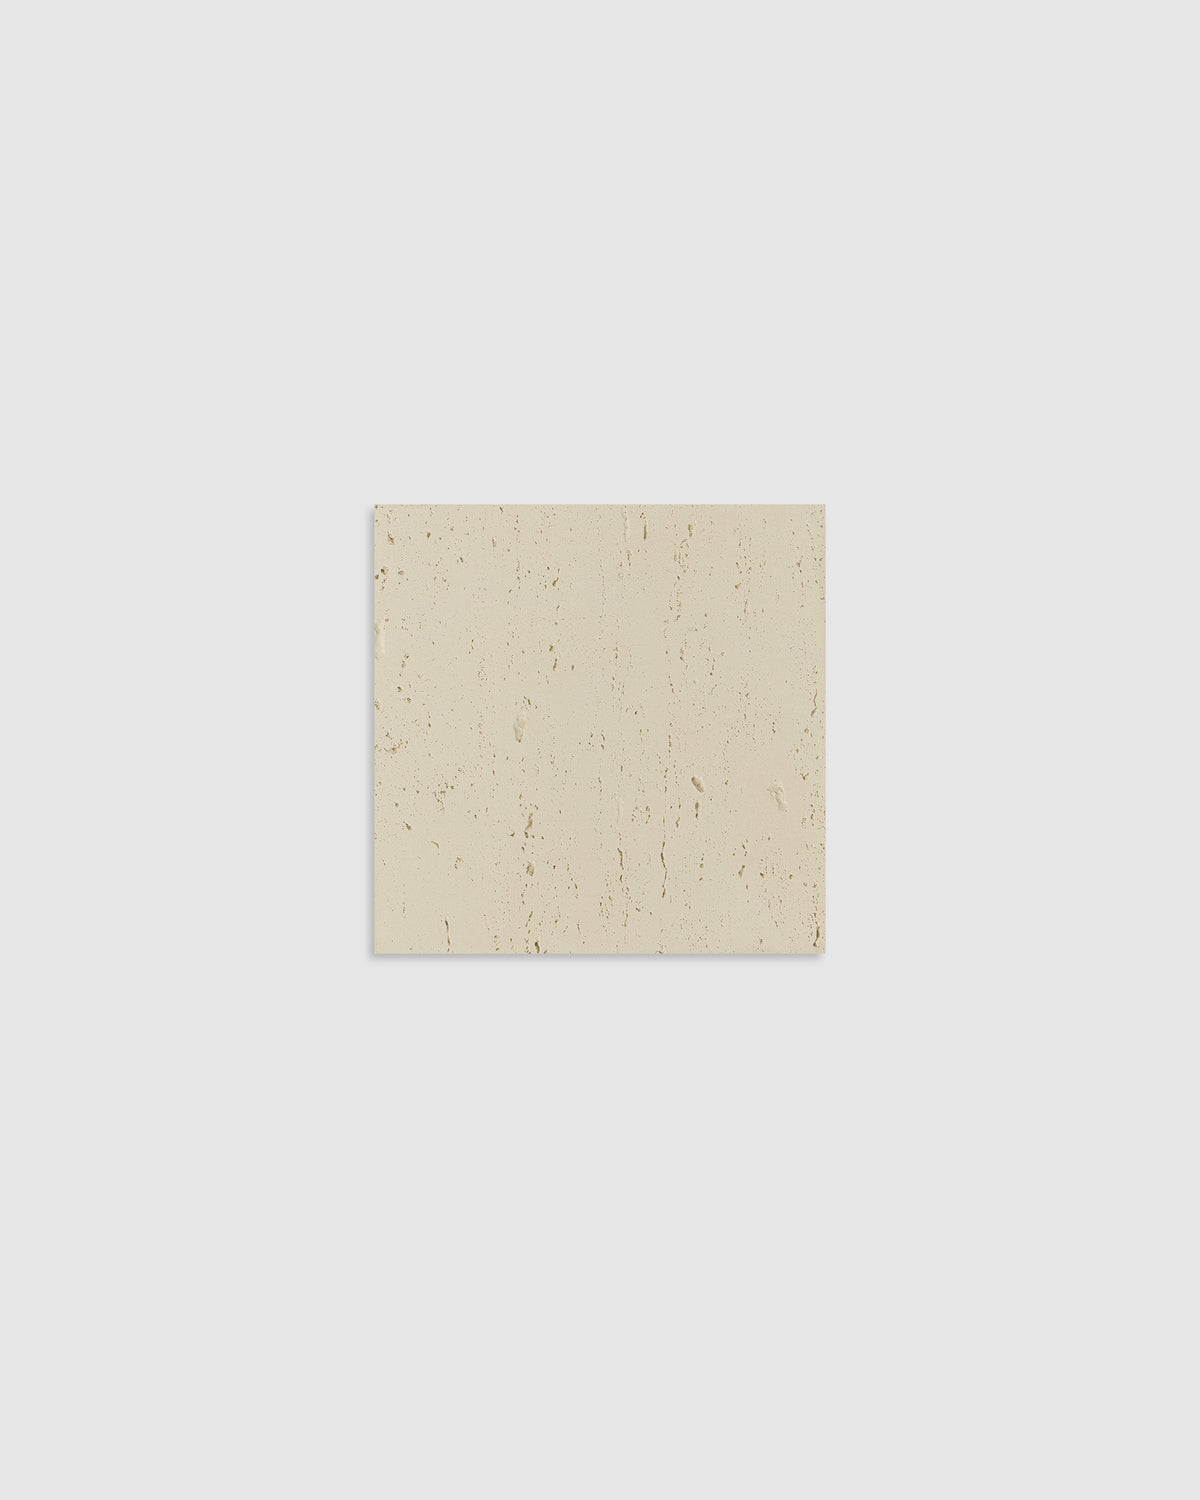
Confirm the panel and the complete wall system
Start with the exact StoneWall product, size and finish. The current Travertine listing includes 600 × 1200 mm panels; other StoneWall designs can have different dimensions and thicknesses. Do not assume the same cutting method or bending limit applies to every panel.
Before work begins, confirm the substrate, primer if needed, adhesive, joint treatment and exposure requirements with DEVOX and the installer. For an exterior or moisture-exposed location, the supporting wall, waterproofing and detailing need their own design. A flexible stone finish does not replace those parts of the assembly.
Prepare and mark the base
- Check that the base is clean, flat and free of hollows, as required by the brochure. Resolve loose coatings, uneven areas or substrate defects before covering them.
- Set out the design with a level and reference lines. Plan the first panel, corner positions and visible joints.
- Measure against the marked layout. Dry-plan the arrangement so narrow edge pieces, openings and pattern changes are deliberate.
- Check the adhesive manufacturer's requirements for the substrate and conditions before mixing or applying material.
Cutting and edge preparation
The brochure lists a handheld angle grinder for trimming rough edges and a utility knife for seam work. It does not establish that every StoneWall panel can be cut through with a knife. Ask DEVOX for the cutting method for your exact design and thickness before making a full-size cut.
Mark the required dimensions and support the panel securely. Trial the approved method on an off-cut first to check the edge and face finish. Follow the tool instructions and the product safety information, including the required dust controls and protective equipment. Plan electrical outlets and other penetrations before the panel goes on the wall.
Apply adhesive and set the panels
The StoneWall brochure specifies adhesive coverage over at least 90% of the panel back. Use that as the brochure minimum, and follow any stricter coverage requirement in the approved adhesive or project specification. Confirm how coverage will be checked rather than relying on isolated spots of glue.
- Apply the agreed adhesive to the panel back using the specified method.
- Position the panel against the reference lines and press it into place.
- Use the brochure's clapper method to compact the panel and adjust the seam. Check the face and alignment as you go.
- Keep the planned joint width consistent. The brochure does not give one universal joint width; agree it before installation.
Finish joints and corners
The brochure shows grout in the gaps, tooling the joint and an adhesive detail at a 45-degree external corner. Confirm the joint material and corner method for your selected finish and exposure before following that detail. Do not treat a decorative joint as a substitute for a movement joint required by the wall design.
The illustrated sequence removes adhesive overflow with a small scraper when it is partly dry and finishes with a dry sponge. Also follow the adhesive and grout manufacturer's clean-up times; waiting too long can make residue harder to remove. Test any proposed cleaner on a spare piece and obtain product approval before using chemicals on the face.
Before the installer leaves
Inspect alignment, edges, joints and the finished surface. Keep the selected product details, adhesive specification and installation photos with your project records. Ask for the applicable cure time and care instructions before cleaning or using the finished area.
Source: DEVOX StoneWall brochure (PDF), installation sequence on page 5. Compare current Travertine options or browse all StoneWall finishes.
Installation guides · Product brochures · Ask DEVOX about your project